Editing Page Information
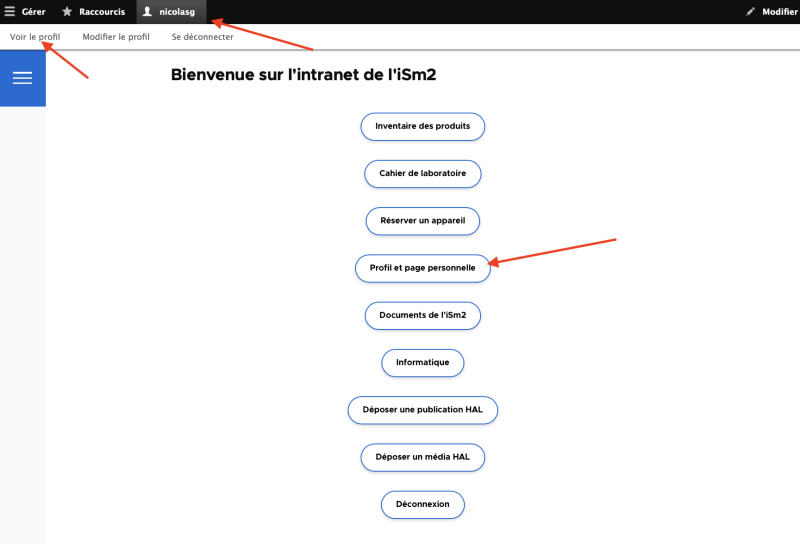
To edit your personal page, log in to the intranet, then click on your username at the top of the page, then on the View Profile button, or on the Profile and Personal Page button on the intranet homepage.
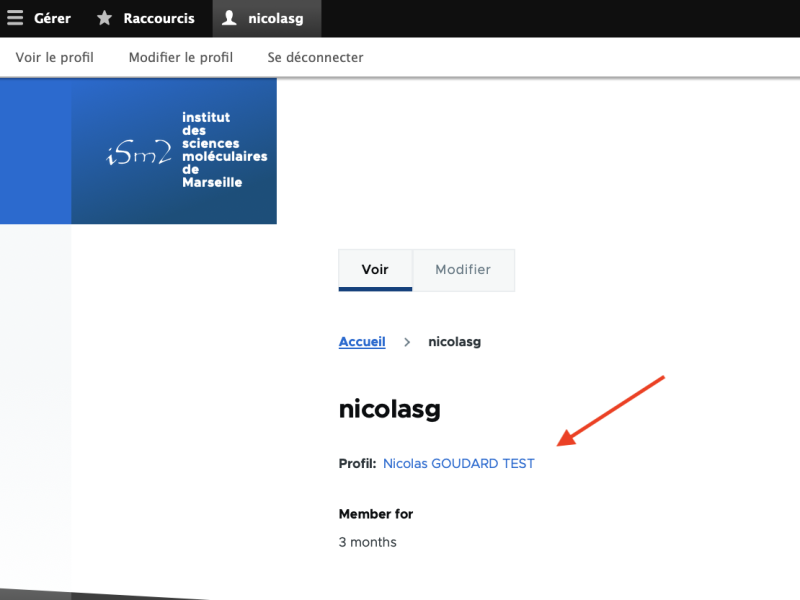
On your profile page, click on the link consisting of your first name and last name.
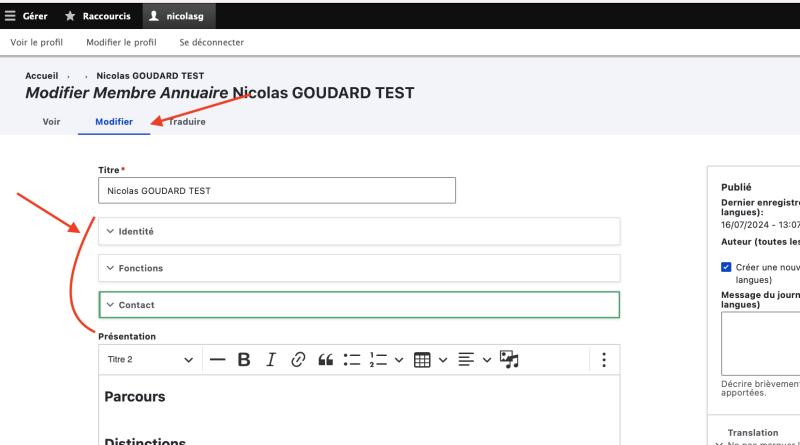
You access the View tab of your personal page. This is your page as it appears to a visitor of the website.
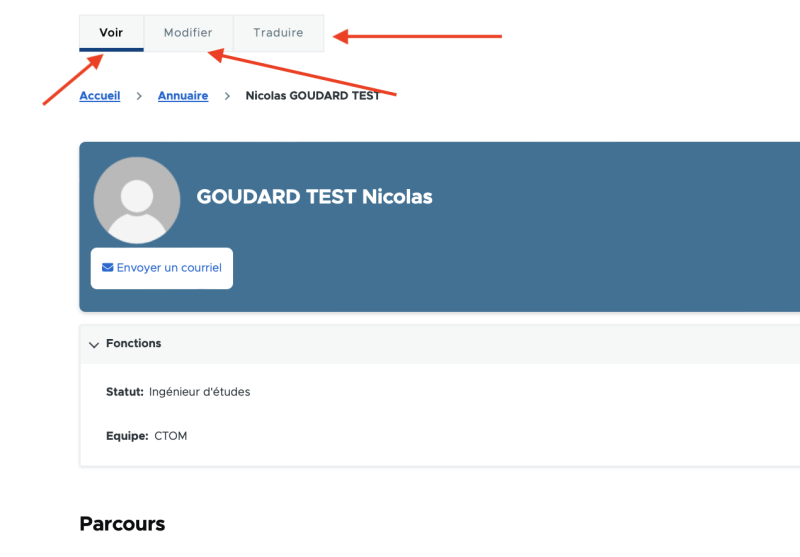
Click on the Edit tab to edit the information on your personal page. You can edit the desired information as well as the profile photo, which are classified under the headings Identity, Functions, Contact, Presentation, HAL and Social Networks.
To draft your Presentation section, use the CKEditor text editor. For detailed instructions on how to use it, please refer to the Text Editor User Guide.
Changing Your Profile Photo
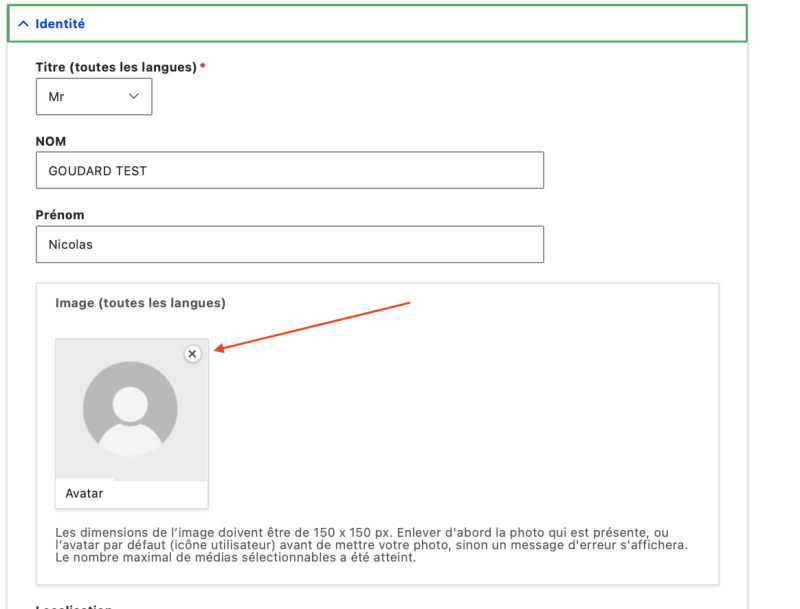
To change your profile photo, expand the Identity section and first delete the existing photo or avatar by clicking on the cross at the top right of the photo.
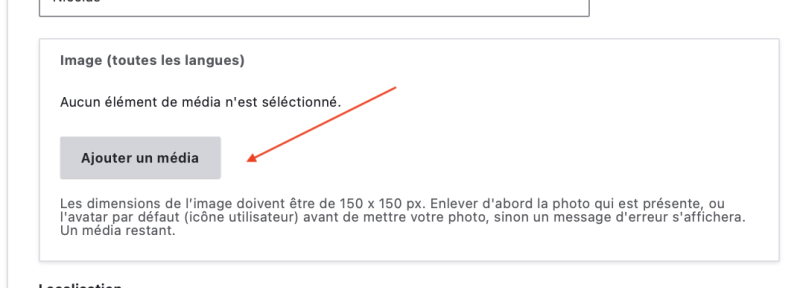
Then click on the Add Media button.
Click on Choose a file
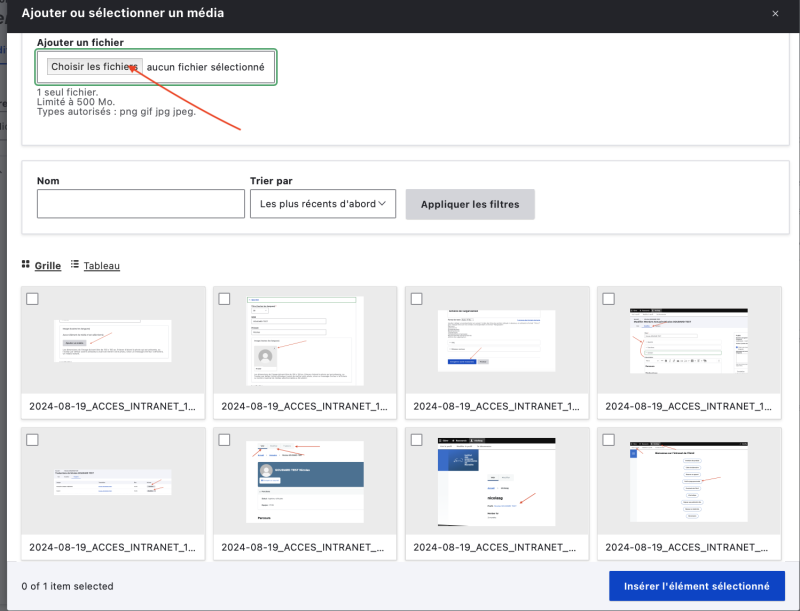
Select a photo sized 150 x 150 px. Check the dimensions of the image and resize it if necessary with your image editing software. The page cannot be saved if the image is not the correct size. Then enter your first name and last name in the title area. Then click on Save.
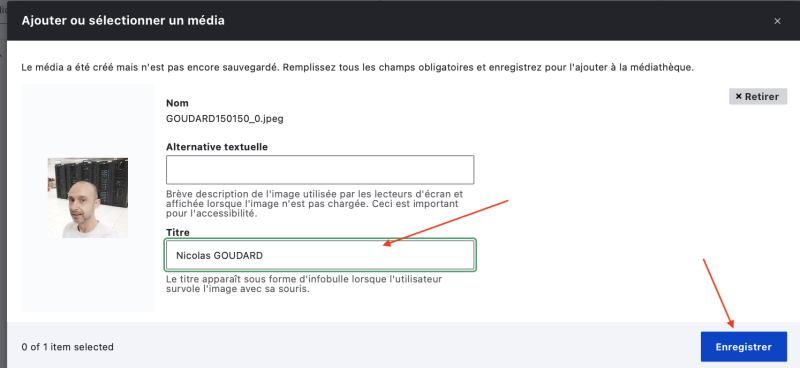
The image is then added to the website's image library, and it is selected by default. Click on the Insert Selected Item button.
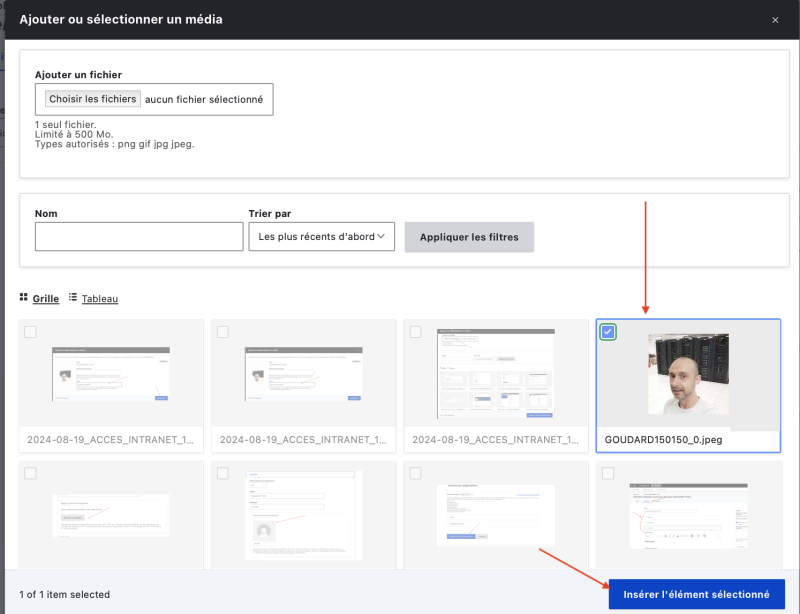
The photo is now added to your personal page.
Deleting Your Profile Photo
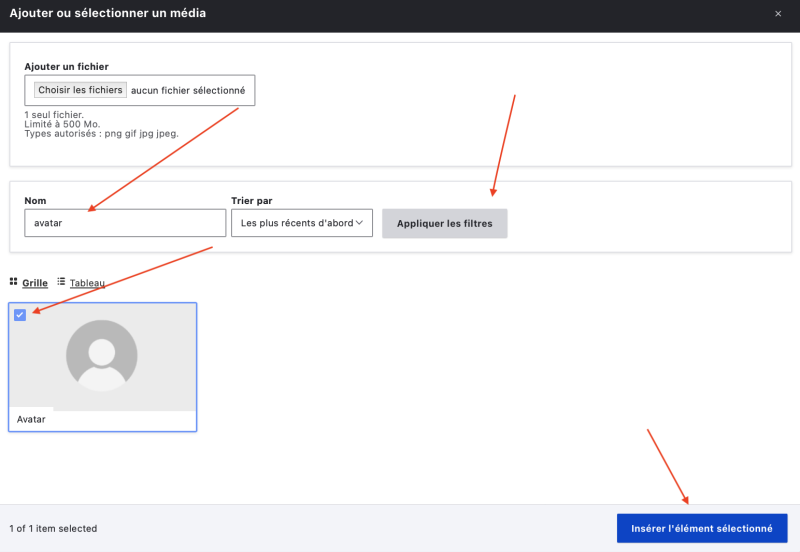
If you wish to delete the photo, you must reset the default avatar. To do this, click again on the cross at the top right of your photo to delete it first, then on the Add Media button. Then, in the media window, search for the term avatar, click on Apply Filters, then precisely check the box of the Avatar media to select it, as shown in the figure below. Then click on Insert Selected Item.
Delete Media from the Library
To completely remove media from the media library, such as your personal photo or files you have uploaded to your personal page, follow these steps:
Navigate to the Manage / Content menu:
Open the Manage menu.
Select the Content option.
Go to the Media tab:
In the Content menu, click on the Media tab.
Search for the media to delete:
Locate the media you wish to delete in the list.
Use the contextual menu:
Click on the small contextual menu arrow to the right of the media.
Select Delete.
OR
Click on Edit to access the media details.
Click on the red Delete button at the bottom of the page.
Important Notes
Ensure to confirm the deletion if a confirmation window appears.
Deleting media is irreversible, so make sure before you proceed.
Display Your Scientific Publications
Synchronization with HAL Science
The website is synchronized with HAL Science, To display your publications on your personal page, you must:
- Enter your publications on HAL.
- Complete the HAL section on the iSm2 website.
- Correctly fill out your HAL CV.
This ensures that your publications are displayed correctly in all sections of the website: on the personal page, on team pages, and in the unit's publications.
Configuring Your CV on HAL
On the HAL platform (open archive)
- Create and configure your idHALDocument2025-01-30_DRV_AMU_IDHAL_PUBLICATIONS.pdf (372.54 KB)
- Create your complete HAL CVDocument2025-01-30_DRV_AMU_CV_HAL.pdf (396.51 KB)
- Identify your team in your profile and publicationsDocument2025-01-30_DRV_AMU_SPECIFITES_HAL_ISM2.pdf (167.66 KB)
For that:
- In HAL, "My profile", in Affiliation at the bottom right: add the name of the lab and the name of the team.
- In "Deposit preferences" check:
- Automatically add me as an author
- Automatically affiliate authors
Using HAL and AureHAL Resources
- Where to find your idHAL
- Your idHAL can be found on the HAL website. To access it, go to the menu of your account at the top right and select the option "My idHAL". You can also search for your idHAL directly on the AureHAL website. idHALs are generally in the form of first-name-last-name.
- If you do not have an idHAL, create an account or consult your HAL account on the HAL website and link your publications in the "My idHAL" section on the HAL website.
- Merging author forms
- If you have multiple author forms not associated with this idHAL, try to merge these author forms by following the HAL tutorial.
- Linking publications to your idHAL
- To link publications to your idHAL, refer to the HAL tutorial.
HAL Support
- If you encounter difficulties with linking your publications to your idHAL, contact HAL support at this address: @email. They can help you resolve the issue.
HAL Section of the Personal Page Form
Filling in the HAL Section
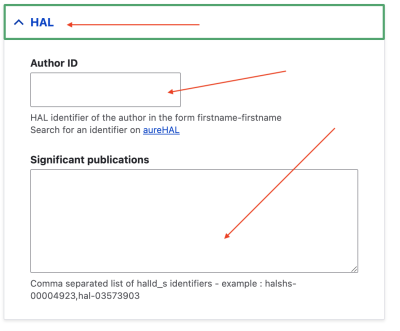
- Author ID:
- Enter your idHAL in the form of your personnel page. idHALs are generally in the form first-name-last-name. Example: john-doe.
- You can search for your identifier on AureHAL.
- Significant publications:
- Enter the list of HAL IDs of your significant publications, separated by commas. Example: halshs-00001234,hal-01234567.
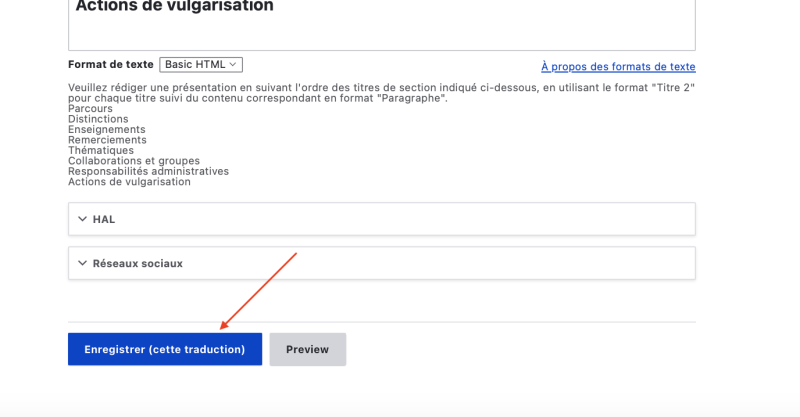
Saving and Translating Your Page
To save the changes to your personal page, click on the Save button at the bottom of the page.
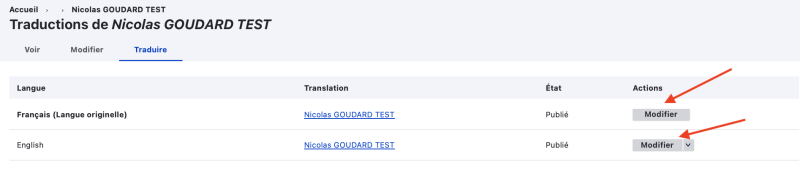
You must then report the changes to the English version of the site (or French). Click on the Translate tab, then on the Edit button in the action column. Make the desired changes, then click on Save at the bottom of the page.